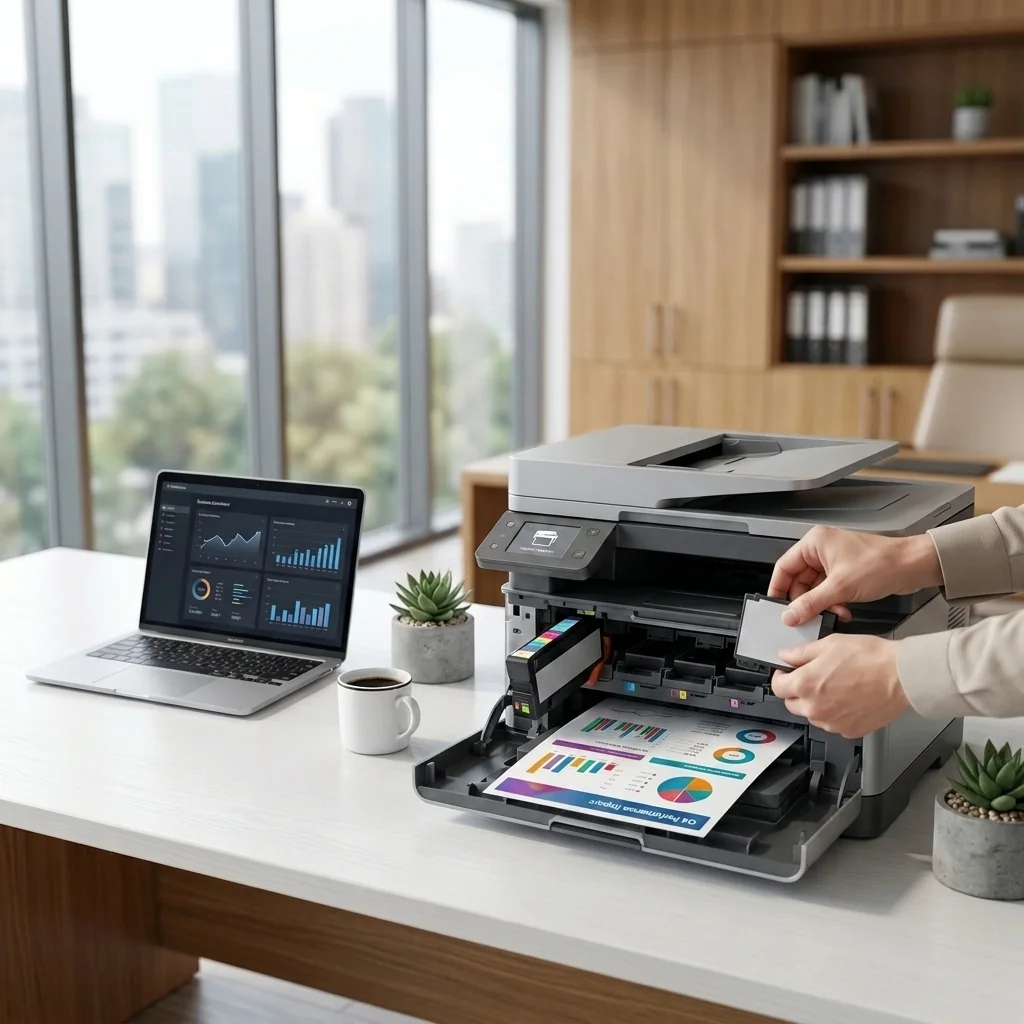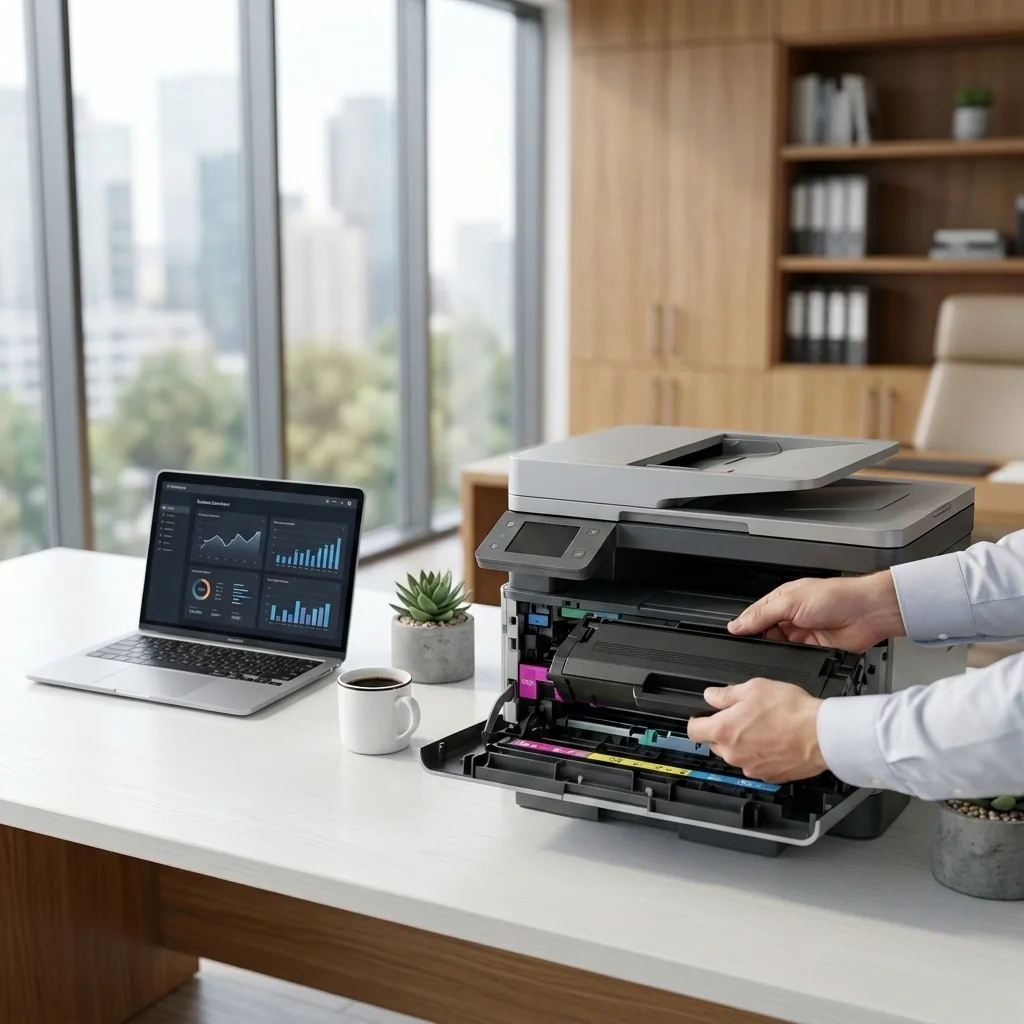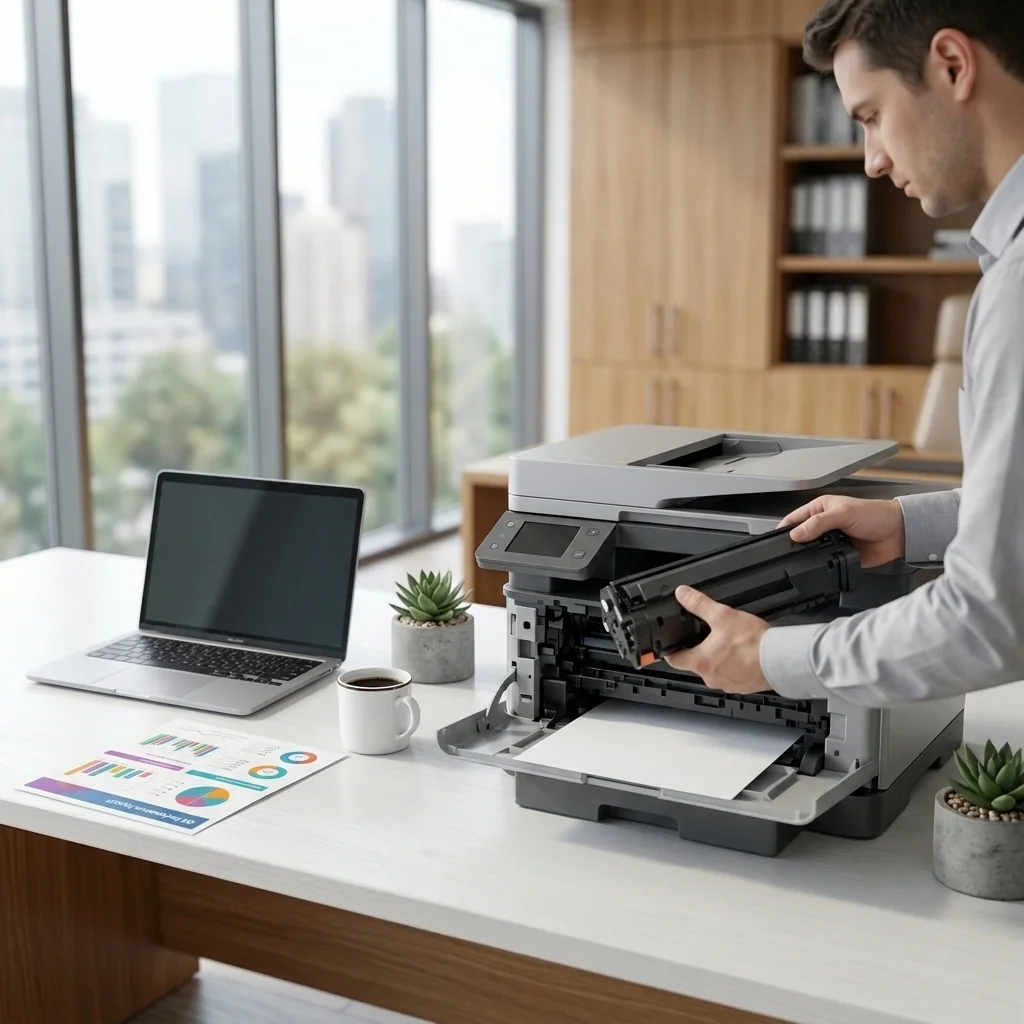

Safety note: Turn off and unplug the printer before reaching into internal paper paths. Allow laser printers to cool. Do not use sharp tools or force covers and components.
Step-by-step checks
- Confirm the supply matches the exact printer model and region.
- Power off the printer before removing the supply when the manual requires it.
- Remove protective tape or shipping seals completely.
- Reinstall the cartridge firmly in the correct slot.
- Gently inspect accessible contacts without touching or scraping them.
- Restart the printer and review the supply-status page.
- Stop if the cartridge leaks, is damaged, or requires force to install.
Check the result
After each major change, print a small test page or retry the original task. Stop repeating cleaning cycles or resets when the result does not improve.
When to stop troubleshooting
Disconnect power and contact a qualified repair professional if the printer sparks, smells burnt, overheats, has liquid damage, a damaged power cable, grinding mechanical noise, or requires major disassembly.
Frequently asked questions
The guide focuses on ordinary user-accessible checks. Follow the printer manual, avoid forcing parts, and stop when a step requires internal repair.
No. Do not permanently disable firewall or security protection. Allow only trusted manufacturer applications when needed.
No. STS STAR is an independent educational resource and is not affiliated with printer manufacturers.