
Before you begin
Confirm the printer model, connection method, operating system, and the exact symptom. Keep the printer manual available when possible. Use only controls, covers, and compartments intended for ordinary users.
Step-by-step troubleshooting
- Prepare the document
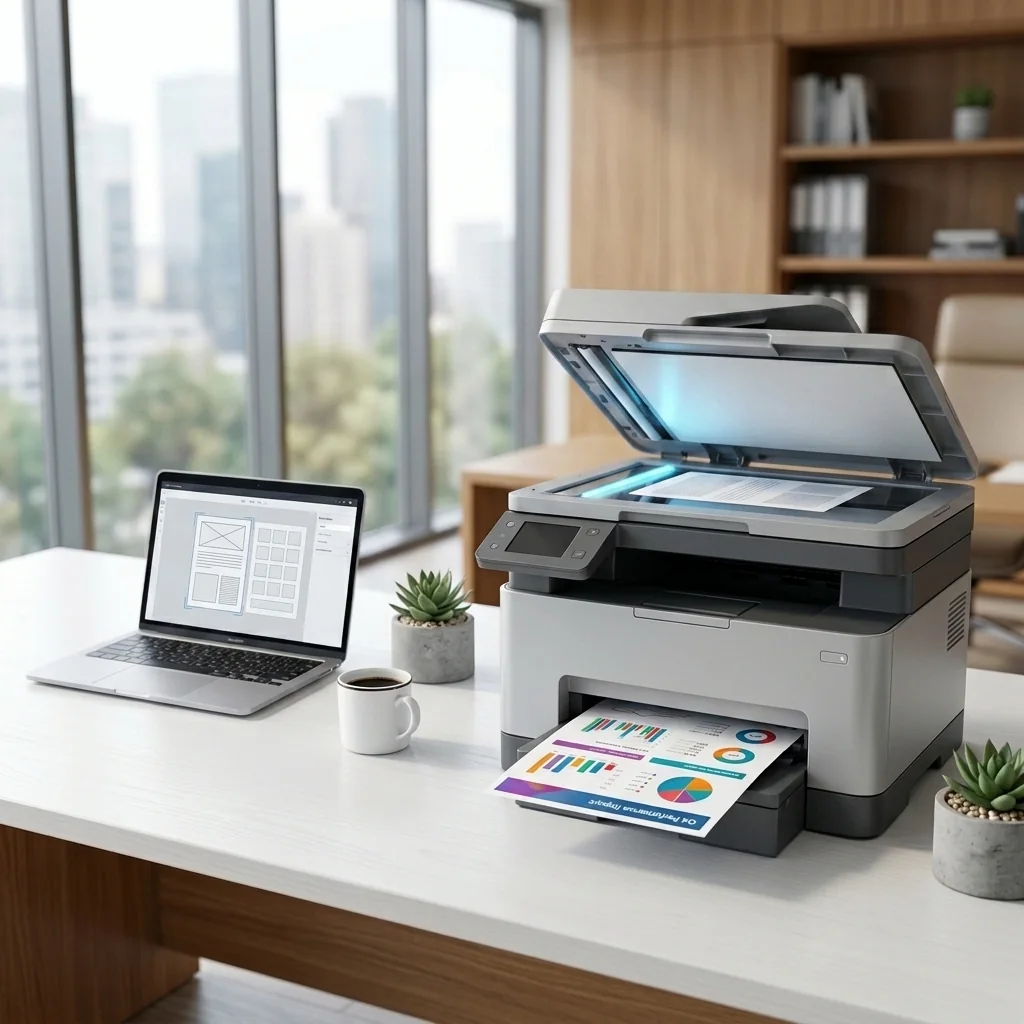
Remove staples and place the document face-down on the glass or correctly in the ADF.
- Open trusted scan software
Use the operating-system scan app or the manufacturer’s official application.
- Select the scanner
Choose the exact device and connection method.
- Choose scan settings
Set color mode, resolution, page size, and file type appropriate for the document.
- Save and review
Open the saved file and confirm orientation, cropping, readability, and page order.
Platform-specific guidance
Windows 11
Use Windows Scan where supported or the manufacturer’s official software.
macOS
Use Image Capture, Preview, or supported manufacturer software.
Verify the result
Repeat the original task using a small test document. Confirm that the printer completes the task consistently, not just once. Reconnect other devices only after the primary device works.
When to stop
Stop if the printer sparks, smells burnt, overheats, has liquid damage, a damaged power cable, grinding noises, or requires major disassembly. Contact a qualified local repair professional or the manufacturer for hardware service.